With it being nearly the end of March (how did that happen?) I thought it was time to replace the valentine’s day wreath on our door. Earlier this month, I thought about making one for St. Patrick’s day, but decided to make one that was more general for spring so I wouldn’t have to change it again until July. This time I made it only using pins, so if you don’t have a glue gun, or want to reuse your wreath, than this is the perfect way to do it.
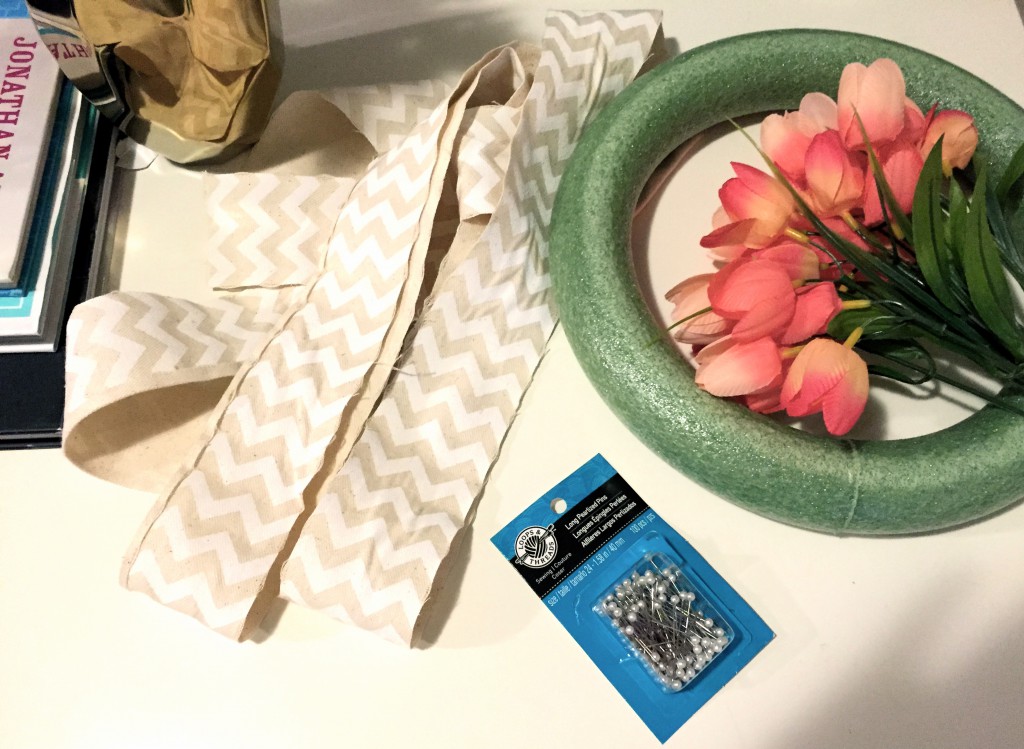 What you’ll need: some fabric or ribbon, a circular styrofoam wreath, pins and flowers. You may also want to use some ribbon, and wire cutters too (I forgot to add them to the pictures, sorry!)
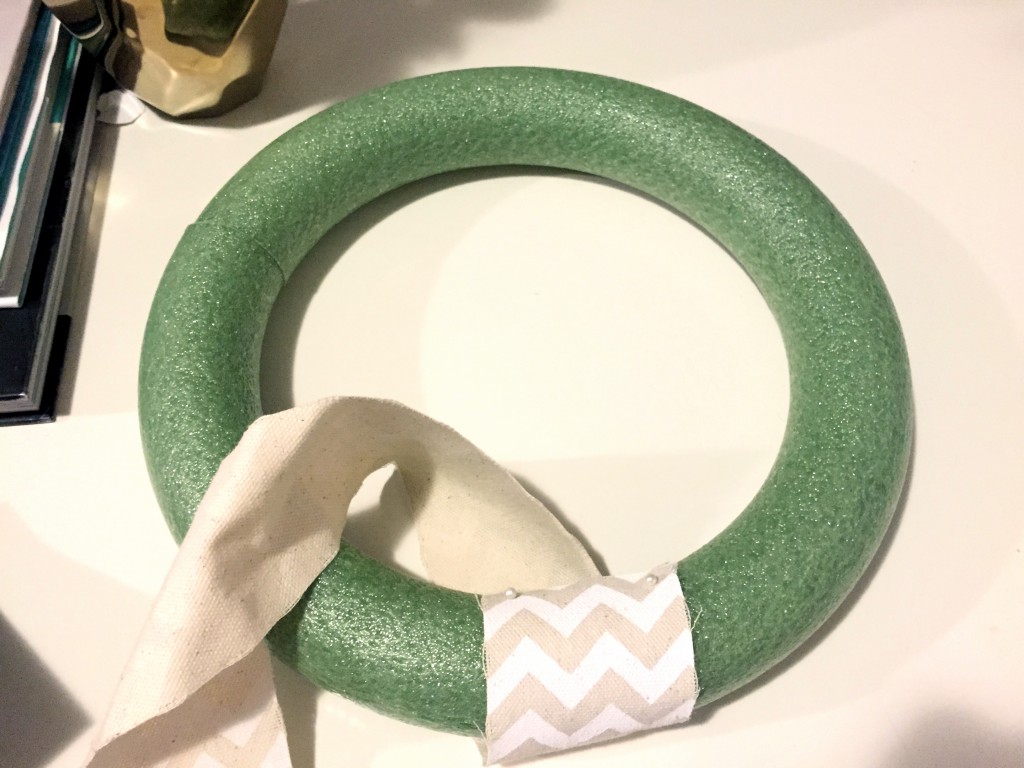 Take your ribbon or fabric and pin it in place. You can use any pins, but I like the pearl ones because they’re pretty.
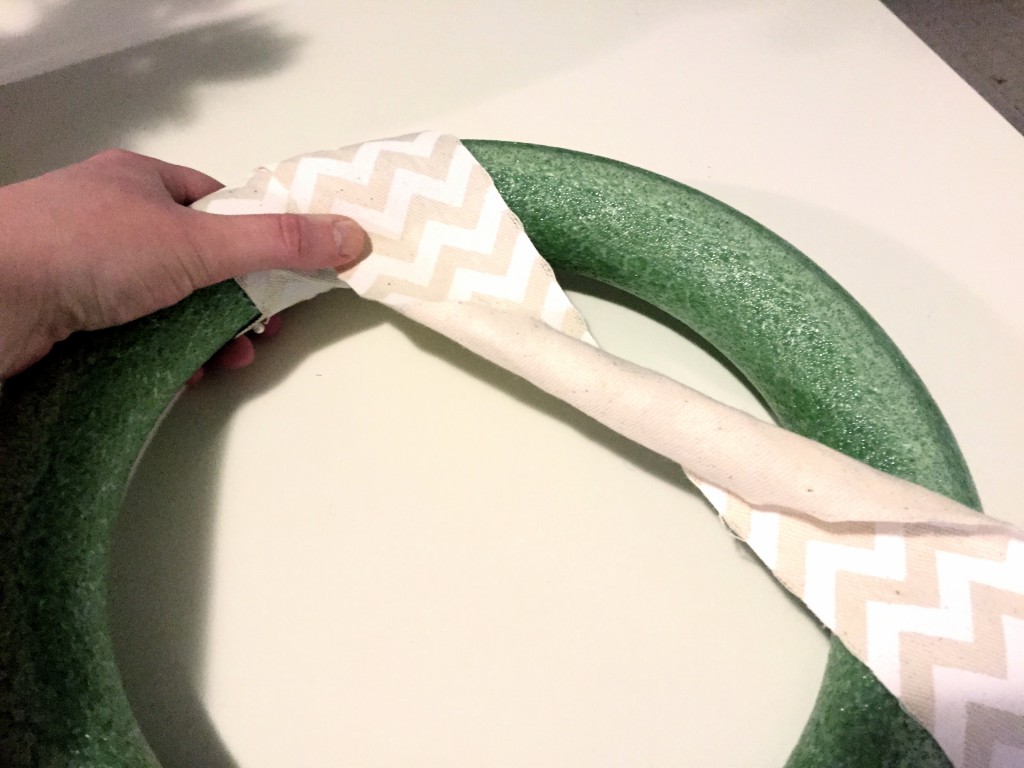 Next, all you have to do is wrap the ribbon or fabric all around the styrofoam wreath. It’s really that simple, I promise! Tip: you’ll want to pull tightly each time so that you don’t get any ripples or wrinkles in the fabric.
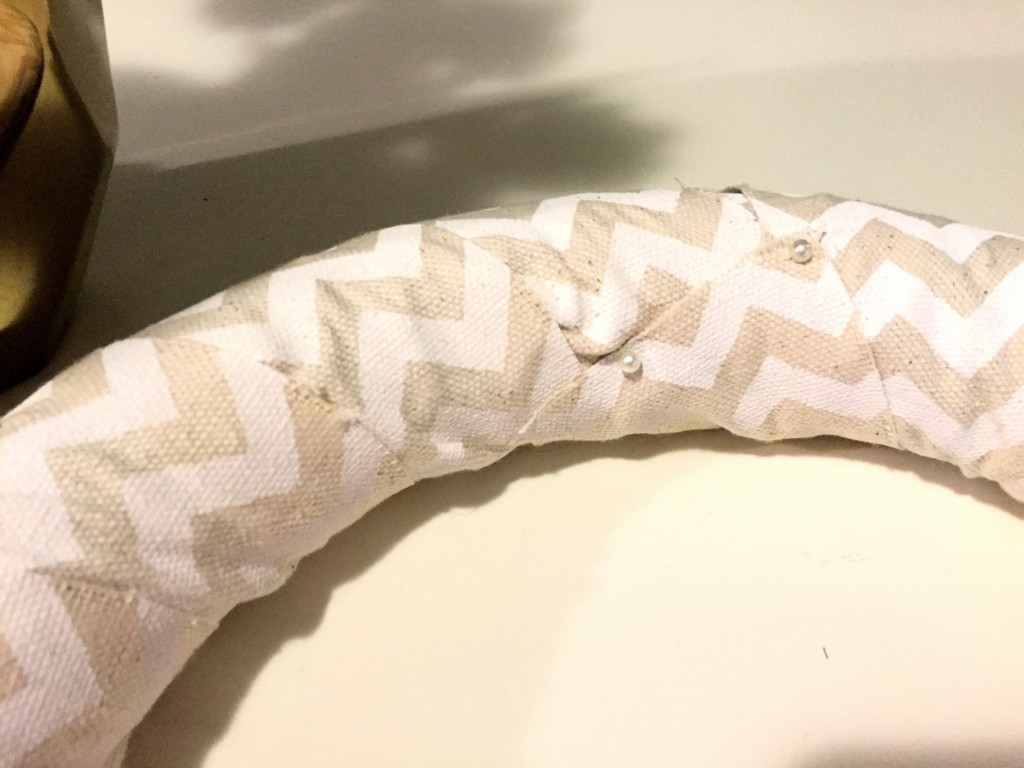 Once you’ve finished wrapping it around, just pin it.
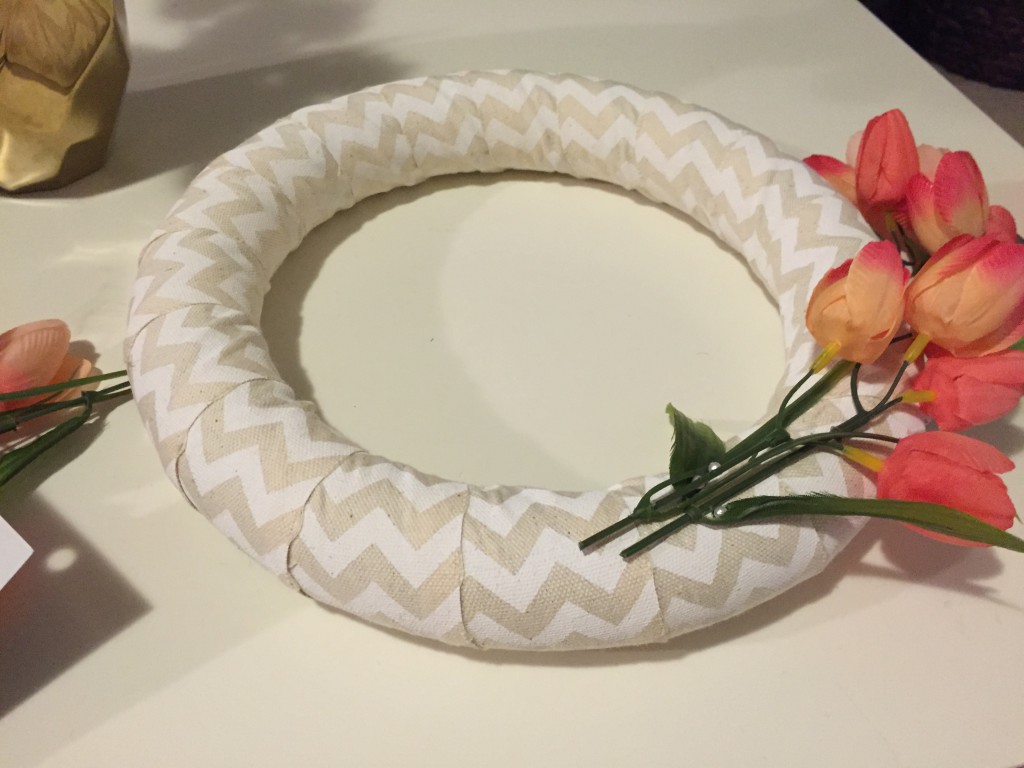 Next you’ll want to take your chosen flowers and start to pin them in. I staggered them in order to cover the pins of the higher ones.
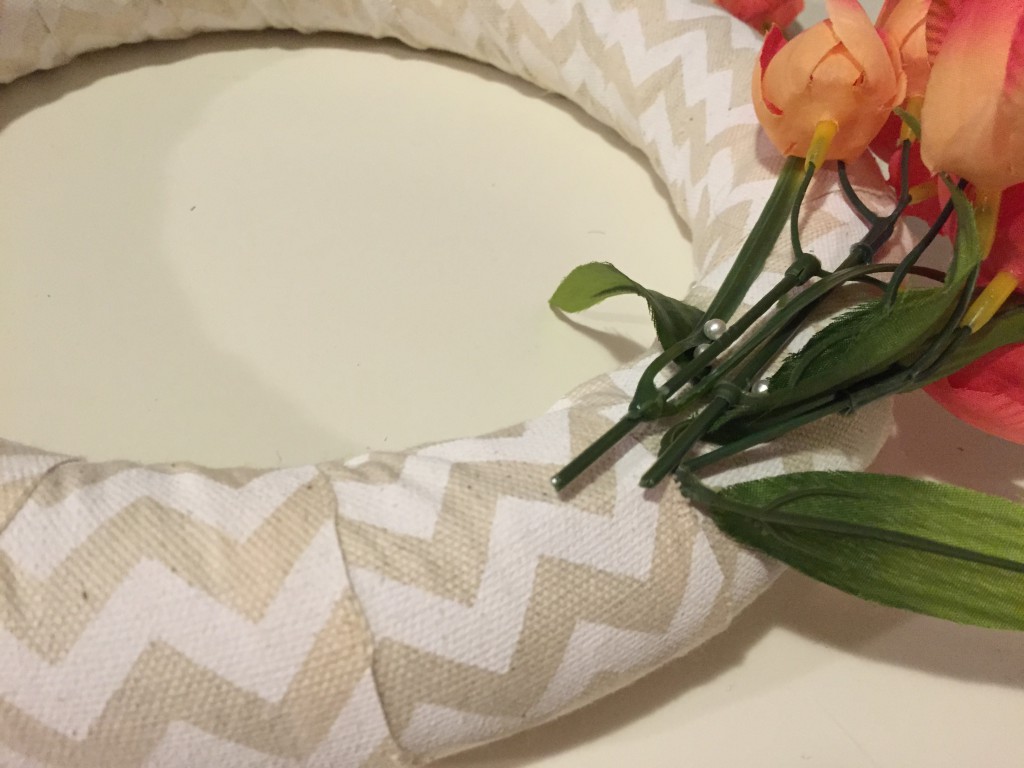 I also tucked some of the stems into the fabric when layering them to hide the pins as best as I could.
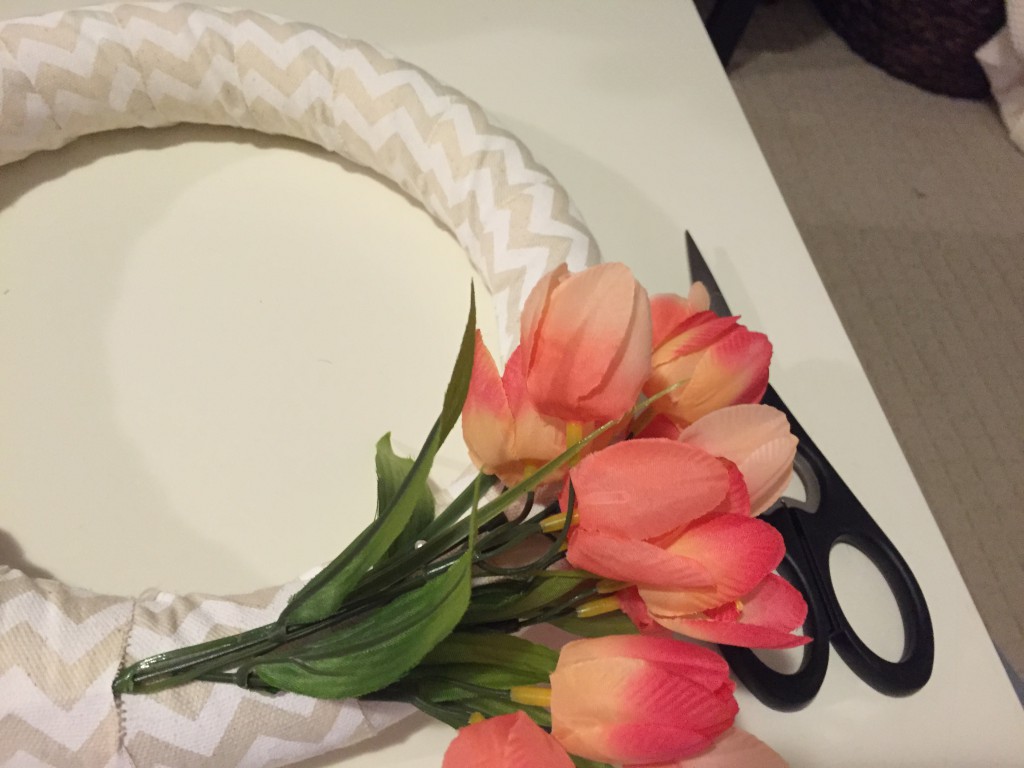 I added some more stems to add some volume. It would also be really pretty if you used different types of flowers, maybe I’ll try that with my next project!
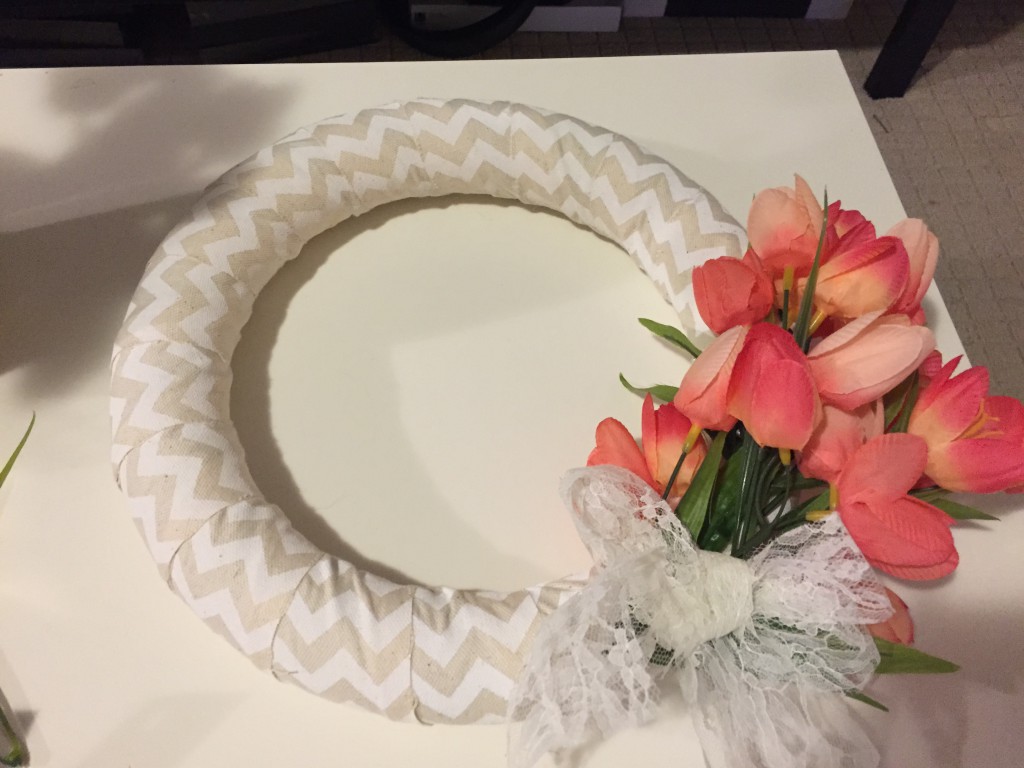 I decided to add a simple ribbon at the bottom to hide the stems since I didn’t like how it was looking. I used two pieces of a white lace ribbon and just made a simple bow, then pinned it underneath the knot.
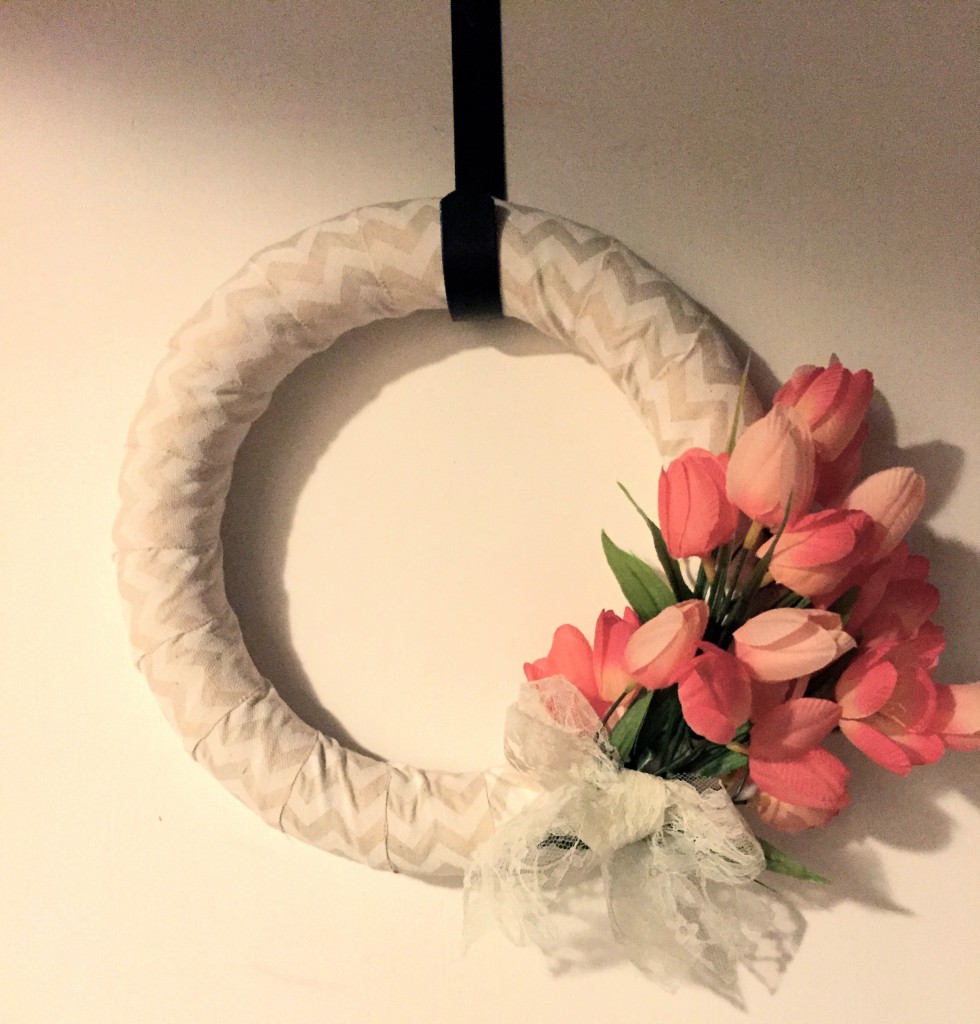 And there you are! A pretty wreath, perfect to welcome Spring into your home, and all without a glue gun and done in less than twenty minutes (possibly even closer to fifteen)!